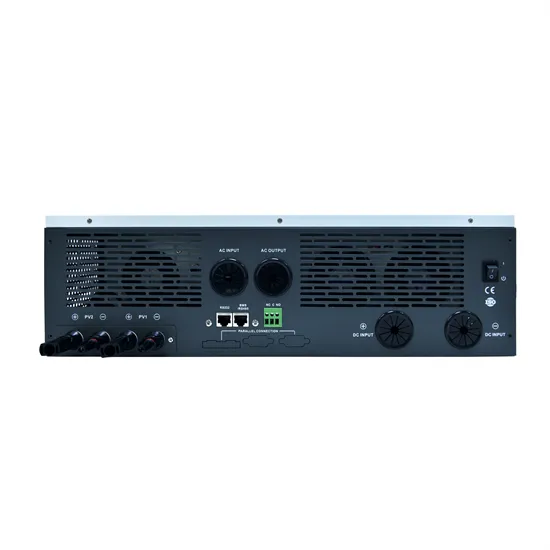
Repairing solar panel welding issues requires a precise approach. Replace damaged components, 4. Execute high-quality rewelding. . How to Fix Junction Box on Solar Panel How to Repair a Broken Solar Panel Wire The junction box installation is one of the key steps in the assembly process of PV modules, using semi-automatic production methods to complete the four steps in turn: gluing, welding, capping and verification. This. . Scroll to the bottom of any page to find a sun or moon icon to turn dark mode on or off! I ripped a wire (or lead) out of the junction box crimp. I'm not sure how to reopen the crimp so I can reinsert the wire. Proper diagnosis begins by understanding the specific welding faults, such as broken connections or. . The welding quality of the junction box lead wires of solar panels directly affects the performance and reliability of the entire solar panel. The junction box directs current, protects electronics, and connects panel strings, making it crucial in photovoltaic (PV) module assembly. To fix blown diodes, start by removing the. . Welcome to our dedicated page for Photovoltaic panel wire box repair welding process! Here, we have carefully selected a range of videos and relevant information about Photovoltaic panel wire box repair welding process, tailored to meet your interests and needs.
[PDF Version]
I show how to fix a loose drill-less plastic solar panel bracket after the VHB tape failed on my RV solar install. Learn the exact steps I used to safely disconnect the panels, remove the failed adhesive, clean the roof surface, and reapply new tape with a. . Repairing a solar bracket can seem challenging, yet it is a manageable task if approached methodically. When dealing with a damaged solar bracket, it is vital to assess the type of damage incurred—be it a crack, rust, or complete breakage—and gather the tools essential for the repair. Be careful not to drop any of the small parts, as they can be difficult to find. Before installing. . Let's be real - when you notice a hairline crack in your solar panel glass door, it's tempting to channel your inner ostrich and bury your head in the sand. Replace a ts. . While some minor fixes, like reconnecting loose wires, can be handled by the user, more complex problems involving inverters or wiring faults often require professional intervention to ensure proper resolution and maintain the safety and efficiency of the solar panel system.
[PDF Version]
This article will guide you through the process of repairing cracked solar panels, focusing on two primary methods: covering the panel with laminating film and applying polyurethane. We'll explore the causes of cracked panels, why repair is crucial, and provide step-by-step instructions for each. . How to repair broken solar panel glass depends on the damage, but here are three main DIY methods: Quick Repair Methods: Important: These are temporary fixes that may reduce efficiency. Severe damage requires professional replacement. A crack in your solar panel glass doesn't mean your investment. . Solar panels are a significant investment for homeowners and businesses, providing long-term savings and environmental benefits. I always prioritize safety by using the right tools and following strict electrical safety measures during repairs. You can use a laminating film, polyurethane or waterproof resin to make microcracks waterproof and keep them from spreading. This can be done by a qualified solar technician.
[PDF Version]
Most solar light failures are caused by dirty panels, dead batteries, or water damage. For persistent issues, reset sensors or check wiring connections. . Fortunately, how to fix broken wire on solar lights is a straightforward process that can save you the cost of replacing the entire unit. This. . Solar Lamp Repair Help: Learn How to Fix It Yourself. Repair guides and support for solar lamps, lanterns, and flashlights. Identify the Faulty Component, 2. Clean panels with a mild solution, replace rechargeable batteries every 2–3 years, and reseal cracked housings with silicone. Double Head Solar Light Bulb – Outdoor & Indoor Solar Pendant Lamp Picture this: your garden bathed in soft twilight, but those cherished solar lights. .
[PDF Version]
This guide is your comprehensive roadmap to understanding solar panel repair. We'll explore common issues, the tools you'll need, safety precautions, and step-by-step solutions. You'll also learn when to seek professional help to safeguard your system's efficiency and value. Having quality tools facilitates not just the repair of the bracket itself, but the installation and maintenance of the entire solar panel system. TOOLS REQUIRED FOR REPAIRING SOLAR BRACKETS When. . Solar panel mount repair made easy! I show how to fix a loose drill-less plastic solar panel bracket after the VHB tape failed on my RV solar install. Learn the exact steps I used to safely disconnect the panels, remove the failed adhesive, clean the roof surface, and reapply new tape with a. . et broken and can"t ride your bike? This guide will walk you through how to remove the bottom bracket, how to grease the threads of the ne urther complications and discomfort. Here are steps to take if you experience a roken bracket: Asse reattach the bracket to your tooth. I purchased a Kimbo camper a couple weeks ago. When dealing with a damaged solar bracket, it is vital to assess the type of damage incurred—be it a crack, rust, or complete breakage—and gather the tools essential for the repair. How Can Solar Panels Be Damaged? Solar panels are usually damaged by severe weather conditions, such as hail. .
[PDF Version]
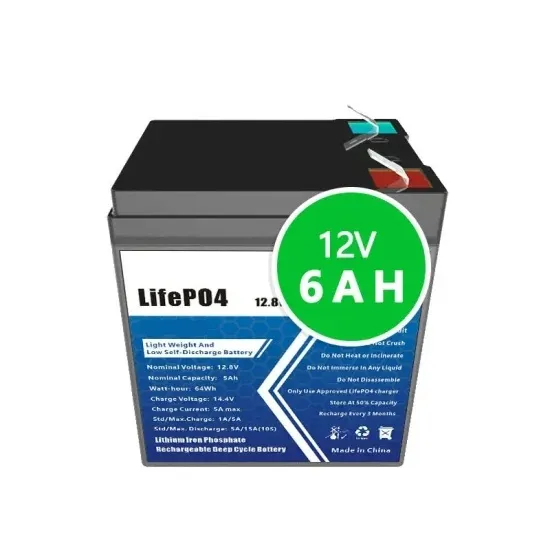
Reliable and traceable battery operation and maintenance is key for providing consistent business stability and performance. Regular inspections should be conducted to check for physical damage, corrosion on terminals, and the condition of the battery case. Cleaning involves neutralizing acid. . Lead-acid batteries are a reliable and cost-effective energy storage solution, but they can degrade over time due to sulfation, corrosion, or cell imbalance. While replacement is often the simplest solution, repair can restore performance and extend lifespan. Lead-acid batteries typically last between 3 to 5 years, but with regular testing and maintenance, you can maximize. . Therefore, we also need to maintain the lead-acid batteries in order to allow the batteries to perform their optimal function and to prolong the service lifespan of the batteries.
[PDF Version]